
🧑🍳RecipesHow to Track Calories From a Photo
A practical walkthrough for logging a meal from a photo: how to shoot the plate, what to review, and what the camera cannot see.
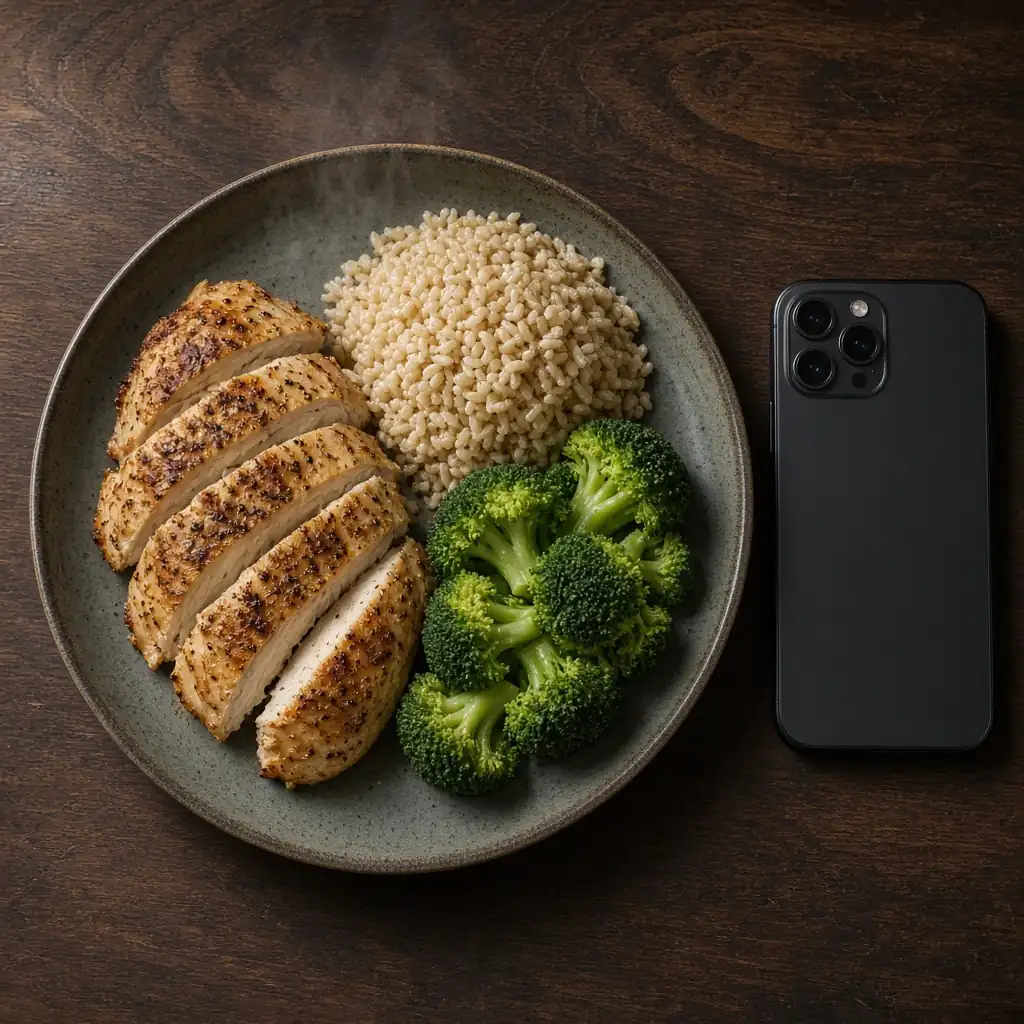
A photo is a useful way to start a food log, The idea is simple. You take a picture of the meal, review the foods and amounts that were suggested, add anything the picture cannot show, and save the log so the calories and macros count toward your day.
A picture of food is not a laboratory measurement. It is a record of what was visible, plus your judgment about portions and ingredients. Used that way, photo logging can sit next to labels, recipes, and a kitchen scale. This guide walks through a careful routine, and it pairs with later posts on how to track macros and how to log restaurant and takeout meals.
What a photo food log actually records
When you log a meal from a photo, you are asking software to do three things: recognize the foods that are in view, estimate how much of each one is on the plate, and look up nutrition data for those foods and amounts. The result is a starting point — a list of items with calories and a breakdown of protein, carbohydrate, and fat.
It is worth being clear about the limits. A camera cannot weigh a portion. It cannot see oil that went into the pan, butter melted on a potato, or the filling inside a wrap. It also cannot read a recipe you cooked last night unless you tell it. Official nutrient databases, including USDA FoodData Central, describe foods as they were analyzed, usually per 100 grams or per a stated household measure. Your plate is a specific serving of a specific dish, so the log is only as useful as the details you confirm.
Treat the first result as a draft. Keep what looks right, change what does not, and add what was missing. Then save it. In ChefGPT, you snap a photo of your food to log it and then review the calorie and macro breakdown before it is added to your day.
Take the photo before you eat
The most helpful picture is the one that shows the meal as you are about to eat it, not the plate after a few bites have already disappeared. A half-eaten meal makes portions much harder to judge, because you are asking the log to reconstruct food that is no longer there.
A few habits make the photo easier to work with:
- Include the whole plate, bowl, or container in the frame, including sides that sit on the rim.
- Use daylight or a well-lit table so colors and textures are easy to tell apart. Dim or strongly colored light makes similar foods harder to distinguish.
- Shoot from slightly above, at an angle that shows both the surface of the plate and some of the height of the food. A completely flat, top-down shot can hide how thick a piece of meat or a wedge of cake is. A very low side angle can hide foods at the back of the plate.
- Leave a size reference in the frame when you can: the edge of the plate, a fork, or a cup. Without something of a familiar size, it is harder to tell a small plate from a large one.
- If you are eating two clearly separate dishes, such as a bowl of soup and a sandwich, photograph them one at a time so each log has a clear subject.
Review every item that was detected
After you take the photo, look at the list of foods, not only the calorie total at the bottom. The total is just the sum of the items. If a food is wrong, missing, or sized incorrectly, the total will be wrong in the same direction.
Check three things:
- Identity. Is the chicken actually chicken, or was it logged as pork or tofu? Is the grain rice, quinoa, or couscous? Mixed dishes are the usual trouble spots.
- Portions. Does the amount look like what is on your plate? A leftover container of pasta can look similar to a restaurant portion that is twice as large.
- Missing items. Dressings in a side cup, a slice of bread, a drink, or a second helping that never made it into the frame will not appear unless you add them.
If you cooked a known recipe, prefer logging the recipe. A photo is most helpful when you did not measure as you cooked, or when you are eating food you did not prepare. For dishes you make often, log the recipe once and then log a portion.
Add what the camera cannot see
Some of the most energy-dense parts of a meal are easy to miss in a photograph. Cooking fats, sauces, and hidden fillings are the usual examples.
A concrete one is oil. According to USDA FoodData Central, FDC 171413 (Oil, olive, salad or cooking), olive oil provides 884 kcal per 100 grams, with 100 grams of fat and no protein or carbohydrate. The same entry lists 1 tablespoon as 13.5 grams. That tablespoon comes to 119 kcal and 13.5 grams of fat, calculated from those per-100-gram values. If the oil was used in the pan and does not show as a pool on the plate, a photo alone will not capture it.
The same idea applies to butter melted into vegetables, salad dressing, cheese mixed through pasta, sugar in drinks, and fillings inside wraps or layered casseroles. If you know you used a tablespoon of oil, add that tablespoon. If you only know that the vegetables were cooked in oil, add a modest amount and note that it is an estimate. Log drinks from the label or a standard entry rather than hoping they appear in the background of the picture.
Packaged foods: use the label
When the food comes in a package with a Nutrition Facts label, the label is usually the better source for that item. The U.S. Food and Drug Administration explains how to read the label: start with the serving size, then the calories, then the nutrients. If you eat two servings, you are eating twice the calories and twice the listed amounts.
Photo logging is still reasonable for the rest of the meal. A common pattern is to snap the homemade or restaurant parts of the plate, then add the packaged drink, yogurt cup, or snack bar from its label. The FDA also notes that 5% Daily Value or less is considered low for a nutrient, and 20% or more is considered high. That context is helpful when you are deciding what to pay attention to, but the gram amounts and calories are what belong in the log.
When a scale or a recipe is the better source
Photo logging is one tool, not the only one. A digital scale is the straightforward choice when you are weighing cooked grains, meats, nut butters, or anything you can put in a bowl. A saved recipe is the straightforward choice when you cooked a known batch and can divide it into servings, as described in how to log homemade recipes and leftovers.
Use the photo when:
- You are eating a mixed plate and do not want to weigh every item
- You are out of the house and a scale is not practical
- You want a visual record of the meal to review later
Use a scale or a recipe when:
- You already measured the ingredients
- The dish is blended, stacked, or heavily sauced
- You are cooking the same meal often and can reuse a saved entry
You can also combine them. Weigh the cooked chicken, photograph the rest of the plate, and add the oil you used in the pan.
How this fits a daily log in ChefGPT
Once the meal looks right, save it so the calories and macros are added to the day. If you have nutrition goals, the daily total is what you compare against those targets, not any one plate in isolation. A lunch that looks high in carbohydrate is easier to understand when breakfast and dinner are already in the log.
If you want a closer look at protein, carbohydrate, and fat, continue with what macros are and how to track them. If the meal is from a restaurant, see how to log restaurant and takeout meals.
Download ChefGPT
ChefGPT is an AI calorie tracker for iPhone and Android. Snap a photo of your food to log it, review the calorie and macro breakdown, and keep those meals next to your recipes and meal plans.


